How to Attach and Disconnect RV Water and Sewer Hookups
Setting up and breaking down your RV’s water and sewer connections may not be the most glamorous part of camping—but it’s one of the most essential. Doing it correctly ensures clean water, proper waste disposal, and a trouble-free stay. Whether you’re new to RVing or need a refresher, here’s a step-by-step guide on how to attach and disconnect both water and sewage connections safely and hygienically.
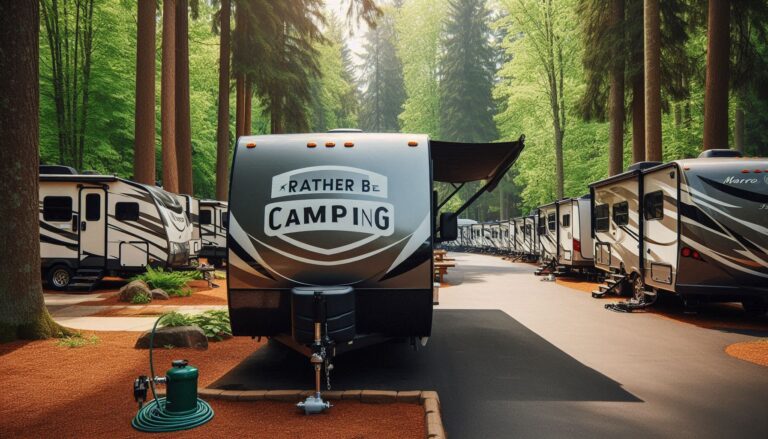
Connecting Your RV to Campground Water and Sewer
- Attach the Fresh Water Supply
What You Need:
- Drinking water-safe hose (usually white or blue)
- Water pressure regulator
- Inline water filter (optional, but recommended)
- Hose splitter (optional, for additional hoses)
Steps:
- Turn off the spigot at the campsite.
- Attach the water pressure regulator to the spigot to prevent high pressure from damaging your RV’s plumbing.
- If you’re using an inline filter, connect it next.
- Connect the water hose to the filter/regulator and the “City Water Connection” inlet on your RV.
- Turn on the spigot slowly and check for leaks.
- Open a faucet inside your RV to purge any air and confirm pressure.
Tip: Never use your drinking water hose for anything other than fresh water—label and store it separately.
- Connect the Sewer Hose
What You Need:
- RV sewer hose (typically 15–20 feet)
- Sewer hose support (sloped to help drainage)
- Sewer fittings (like a 90-degree elbow)
- Disposable gloves
Steps:
- Put on disposable gloves—this is a must.
- Connect one end of the sewer hose to your RV’s sewer outlet (usually at the back or underneath).
- Secure the other end to the campground sewer inlet. Use a screw-in or weighted adapter if required.
- Support the hose with a sloping hose support system to encourage proper flow.
- Keep both the black and gray tank valves CLOSED until you’re ready to dump.
Important: Don’t leave your black tank valve open—solids can accumulate and create a clog (“poop pyramid”).
Disconnecting Your RV Water and Sewer Hookups
- Disconnecting Sewer Safely
Steps:
- Dump the black tank first:
- Open the black tank valve and let it drain completely.
- Once drained, close the black valve.
- Dump the gray tank:
- Open the gray valve to flush out the hose with soapy water.
- Close the gray valve when complete.
- Disconnect the hose from your RV and then from the sewer connection.
- Rinse the hose with a dedicated water spigot (often labeled “non-potable water”).
- Store the hose in a sealed compartment or tote separate from your fresh water supplies.
- Remove gloves and wash hands thoroughly.
- Disconnecting Fresh Water
Steps:
- Turn off the campground spigot.
- Relieve pressure by briefly turning on a faucet inside your RV.
- Disconnect the hose from the spigot and RV.
- Drain the hose and store it in a clean, dry place.
- If used, remove and store the filter and regulator.
Best Practices for Clean and Safe Hookups
- Use color-coded hoses (white/blue for drinking water, gray/black for sewer rinse).
- Inspect hoses and fittings regularly for cracks or leaks.
- Carry extra rubber gaskets and fittings—you never know when one might fail.
- Clean your hands thoroughly after handling sewer connections—even with gloves.
Final Thoughts
Attaching and disconnecting RV water and sewer hookups doesn’t have to be intimidating. By following these steps and practicing good hygiene, you’ll keep your campsite sanitary, your RV systems healthy, and your camping experience hassle-free.
Enjoy the open road—and stay clean out there!