How to Pitch a Tent
How to Pitch a Tent: Step-by-Step Instructions for Every Type of Tent
Pitching a tent can feel intimidating the first time, but with a little practice and know-how, it becomes second nature. Whether you’re setting up at a campground, in the backcountry, or in your backyard, this guide covers how to pitch several common types of tents—so you can sleep under the stars with confidence.
Before You Begin: General Setup Tips
No matter what type of tent you have, follow these essentials:
Choose the Right Campsite:
- Look for flat, dry, and elevated ground
- Avoid low spots (they collect water)
- Clear away rocks, sticks, and debris
- Stay away from fragile vegetation and animal trails
Unpack and Check:
- Lay out all components: tent body, poles, rainfly, stakes, guylines
- Check for rips, broken poles, or missing parts
Tip: Practice pitching your tent at home before your trip!
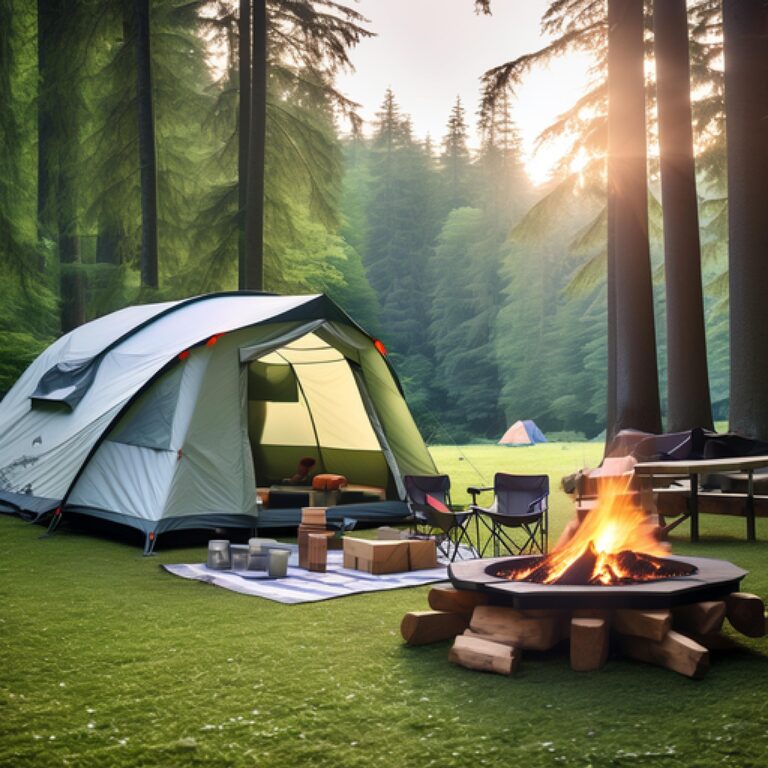
Type 1: Dome Tents (Most Common)
Best for: Beginners, car camping, casual use
Step-by-Step:
- Lay out the tent body on your cleared site.
- Assemble the poles—usually two that crisscross diagonally.
- Insert poles into the sleeves or clips on the tent body.
- Raise the tent by standing the poles upright. The tent will form a dome shape.
- Stake down the corners of the tent to secure it.
- Attach the rainfly over the top and stake or clip it into place.
- Adjust guylines for added wind resistance.
✔️ Pros: Easy setup, stable in wind
❌ Cons: Limited interior space at the edges
Type 2: Cabin Tents
Best for: Families or groups, long stays, car camping
Step-by-Step:
- Lay out the tent and identify the front.
- Assemble straight poles—these form the cabin-style walls.
- Attach poles to the frame or hub system, then raise one side at a time.
- Stake down the tent base securely.
- Add the rainfly and stake it out, especially over doors/windows.
✔️ Pros: Tall ceilings, lots of room
❌ Cons: Heavier, more parts, not great in high winds
Type 3: Backpacking Tents
Best for: Lightweight hiking and backcountry camping
Step-by-Step:
- Lay out the footprint or ground tarp (optional but recommended).
- Assemble aluminum or carbon-fiber poles.
- Clip or sleeve the tent body onto the poles.
- Stake it down to prevent shifting.
- Add the rainfly and stake out vestibules (extra storage space).
✔️ Pros: Lightweight, compact, quick setup
❌ Cons: Less interior space, tighter fit
Type 4: Pop-Up Tents
Best for: Beginners, festivals, fair-weather use
Step-by-Step:
- Remove tent from bag carefully—it will “spring open.”
- Unfold and secure the sides as it pops into shape.
- Stake it down to prevent it from blowing away.
✔️ Pros: Fastest setup (under 1 minute)
❌ Cons: Bulky to pack, poor weather resistance
Type 5: Tunnel Tents
Best for: Large groups, gear-heavy trips
Step-by-Step:
- Lay out the tent and poles.
- Insert flexible poles into parallel sleeves to form arches.
- Raise the structure arch-by-arch, staking as you go.
- Stake guylines to stabilize the long tunnel shape.
- Attach the rainfly (some have built-in flys).
✔️ Pros: Spacious, good headroom
❌ Cons: Can be unstable in high wind if not staked properly
Type 6: A-Frame or Ridge Tents
Best for: Classic look, ultralight setups (sometimes used with trekking poles)
Step-by-Step:
- Stake the two ends of the tent.
- Insert poles vertically at either end, or use trekking poles.
- Connect a ridge line (if needed) for center support.
- Stake the sides and guylines to tension the tent.
✔️ Pros: Lightweight, easy to pitch with poles or trees
❌ Cons: Limited interior space, less weatherproof
After Pitching: Don’t Forget!
- Store gear inside or in vestibules to keep it dry.
- Keep your rainfly zipped up in bad weather.
- Ventilate to reduce condensation.
- Pack it dry whenever possible to avoid mildew.
Final Thoughts
Learning how to pitch your tent properly is one of the most important camping skills you can have. Take the time to understand your specific tent model, practice at home, and always carry a repair kit—just in case.
Soon, you’ll be setting up camp like a pro, no matter what kind of tent you bring along.