How to Set Up Your RV at the Campground
How to Set Up Your RV at the Campground: A Step-by-Step Guide for a Smooth Start
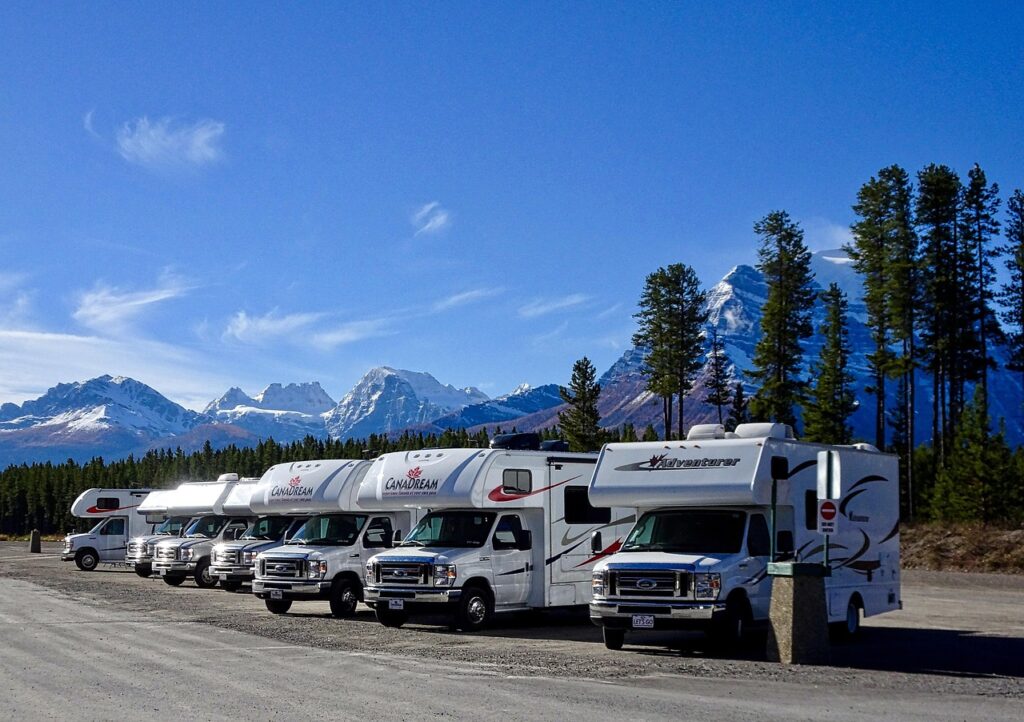
Nothing beats rolling into a campground with your RV, ready for a relaxing escape into nature. Whether you’re a seasoned road warrior or a first-time RVer, knowing how to properly set up your RV at a campsite ensures a safe, comfortable, and stress-free experience. Here’s a simple step-by-step guide to get you settled in and enjoying the great outdoors in no time.
- Check In and Choose the Right Spot
Upon arrival, check in at the campground office. You’ll receive your site number and any important park information or rules. Once you find your site:
- Confirm it’s suitable for your RV’s size and hook-up needs.
- Look for a level spot and ensure there’s enough clearance from trees and other obstacles.
- Park with enough room to extend slide-outs, awnings, and maneuver around.
- Level Your RV
A level RV is essential for comfort and the proper functioning of appliances.
- Use a bubble level on the floor or a leveling app.
- Adjust using leveling blocks, ramps, or built-in automatic levelers if you have them.
- Start by leveling side to side, then front to back.
- Chock the Wheels and Engage the Brakes
Once level:
- Set your parking brake (for motorhomes).
- Place wheel chocks under the tires to prevent rolling, especially if you’re unhooking a travel trailer or fifth wheel.
- Extend Stabilizers or Jacks
Use stabilizer jacks to reduce sway when walking inside the RV. These are not for leveling—only for stability.
- Lower them until they firmly touch the ground.
- Avoid overextending or lifting the RV with stabilizers.
- Hook Up to Utilities
Most campgrounds offer full or partial hook-ups. Here’s how to connect:
Electricity
- Turn off all appliances before plugging in.
- Connect your RV’s power cord to the electrical pedestal (use a surge protector if possible).
- Choose the correct amp (30 or 50) that matches your RV.
Water
- Use a potable water-safe hose.
- Connect to the campground spigot with a water pressure regulator to avoid high-pressure damage.
- Attach to your RV’s “City Water Connection.”
Sewer (if available)
- Wear disposable gloves.
- Connect your sewer hose to the RV waste outlet and campground sewer drain.
- Use a sewer support hose to maintain a downward slope.
- Only open the black tank valve when it’s full (to prevent clogs); the gray tank can stay open or be used to rinse out the hose afterward.
- Slide-Outs and Awnings
Once everything is level and secure:
- Ensure there’s space and no obstructions.
- Extend slide-outs slowly.
- Open your awning and secure it with tie-downs if needed (especially in windy conditions).
- Set Up Your Outdoor Area
Make your campsite cozy:
- Lay out an outdoor rug or mat.
- Set up chairs, tables, a grill, or fire pit (if allowed).
- Use lights or lanterns to create a welcoming evening atmosphere.
- Final Safety Checks
Before settling in:
- Test your smoke and carbon monoxide detectors.
- Double-check all connections.
- Secure any items that could attract wildlife (like food or trash).
Final Thoughts
Setting up your RV might take a bit of time, but once everything’s in place, you can sit back and truly enjoy the peace and beauty of campground life. With a solid routine, you’ll be ready for a stress-free getaway every time you hit the road.
Happy camping!